Setting Up the Project
This project is going to be run off of MacOS X. I will be using the package manager Homebrew.. Homebrew helps make sure everything is the correct version, and all apps are installed. It is likely that if you are following this blog post you are familiar with Homebrew, but if not the simple install is as follows:
Open up your terminal of choice (I use the given terminal) and execute the following command
$/usr/bin/ruby -e "$(curl -fsSL https://raw.githubusercontent.com/Homebrew/install/master/install)"
$brew update
$brew doctor
First up, Python (3)!
$brew install python3
$python3 -V
Python 3.7.6
                                $brew install mercurial
                                $brew install sdl sdl_image sdl_mixer sdl_ttf portmidi
                                $brew tap homebrew/headonly
                                $brew install smpeg
$pip3 install pygame
$pip3 install pygame=2.0.0.dev3
The quickest way to check if everything so far has been done correctly is to execute the following command:
$python -c "import pygame"
                                pygame 2.0.0.dev3 (SDL 2.0.9, python 3.7.6)
                                Hello from the pygame community. https://www.pygame.ord/contribute.html
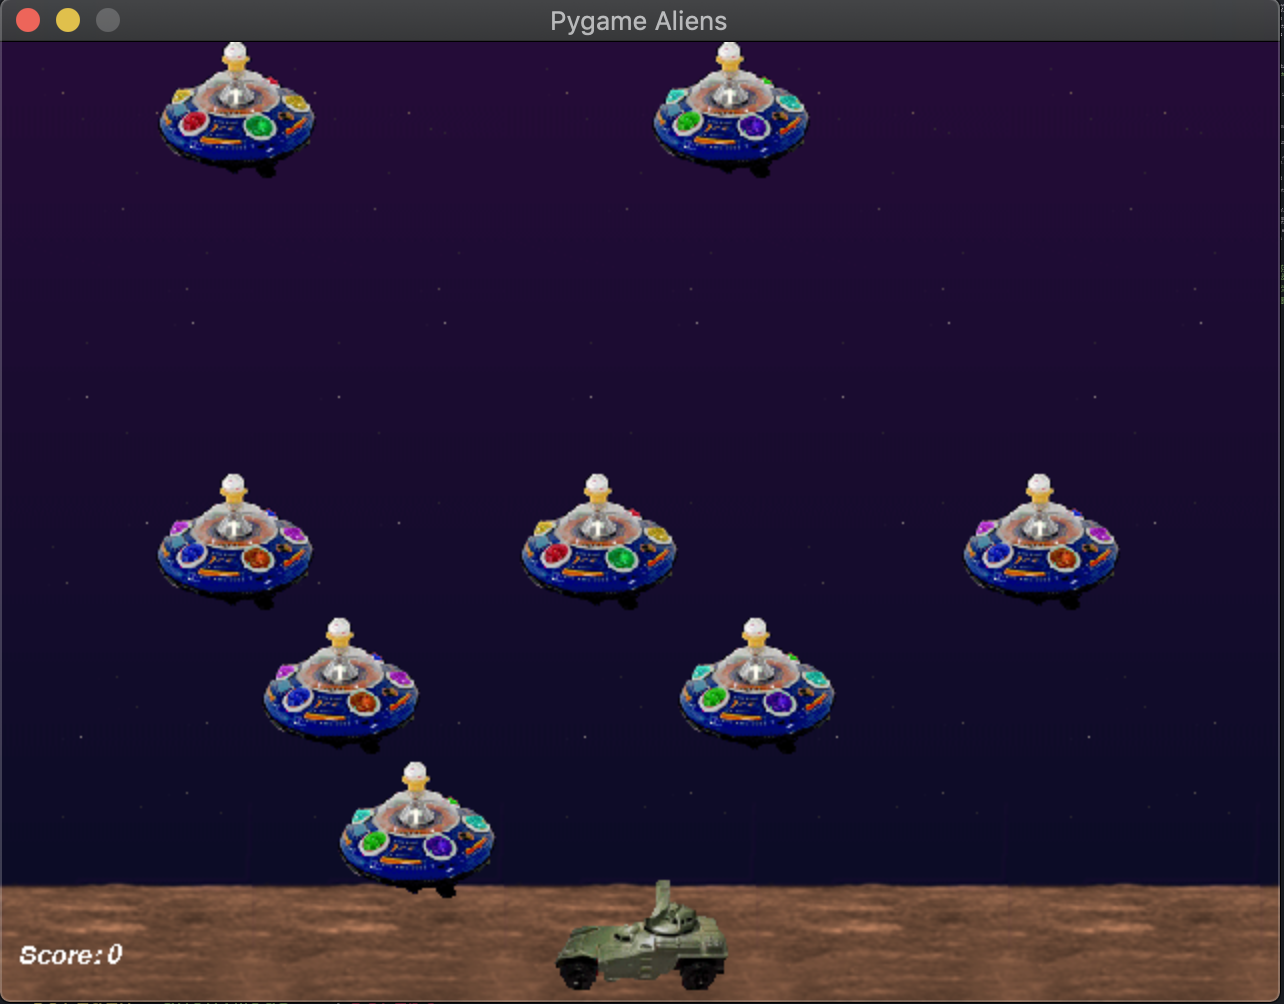
$python3 -m pygame.examples.aliens
